Hey there, welcome Again!
Let’s see how can we create an Android project.
This lesson shows you how to create a new Android project with Android Studio, and it describes some of the files in the project.
To create your new Android project, follow these steps:
-
Install the latest version of Android Studio.
-
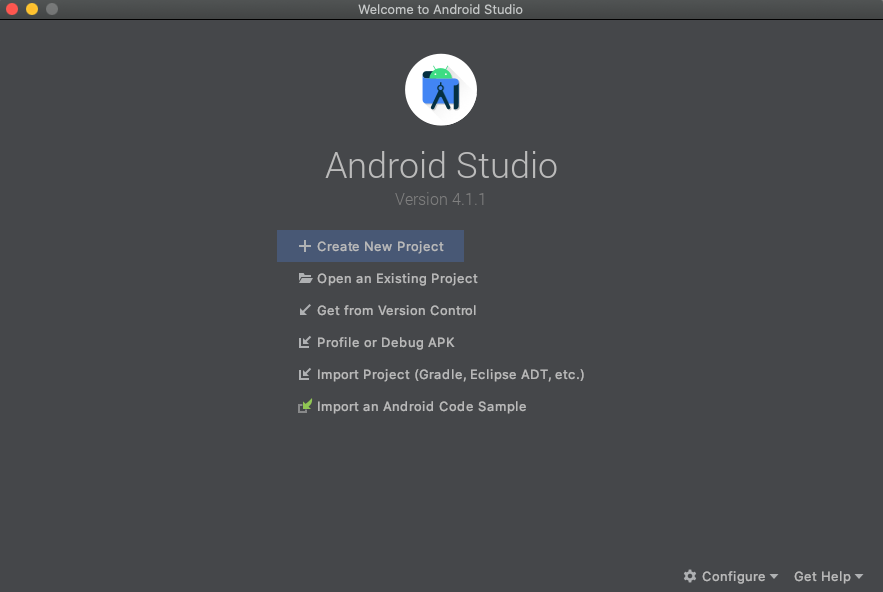
In the Welcome to Android Studio
window, click
Create New Project.
 Figure 1.
Android Studio welcome screen.
• If you have a project already opened, select File > New > New Project. -
In the Select a Project Template window, select Empty Activity and click Next.
-
In the
Configure your project
window, complete the following:
• Enter “My First App” in the Name field.
• Enter “com.example.myfirstapp” in the Package name field.
• If you’d like to place the project in a different folder, change its Save location.
• Select either Java or Kotlin from the Language drop-down menu.
• Select the lowest version of Android you want your app to support in the Minimum SDK field.
• If your app will require legacy library support, mark the Use legacy android.support libraries checkbox.
• Leave the other options as they are. -
Click
Finish
.
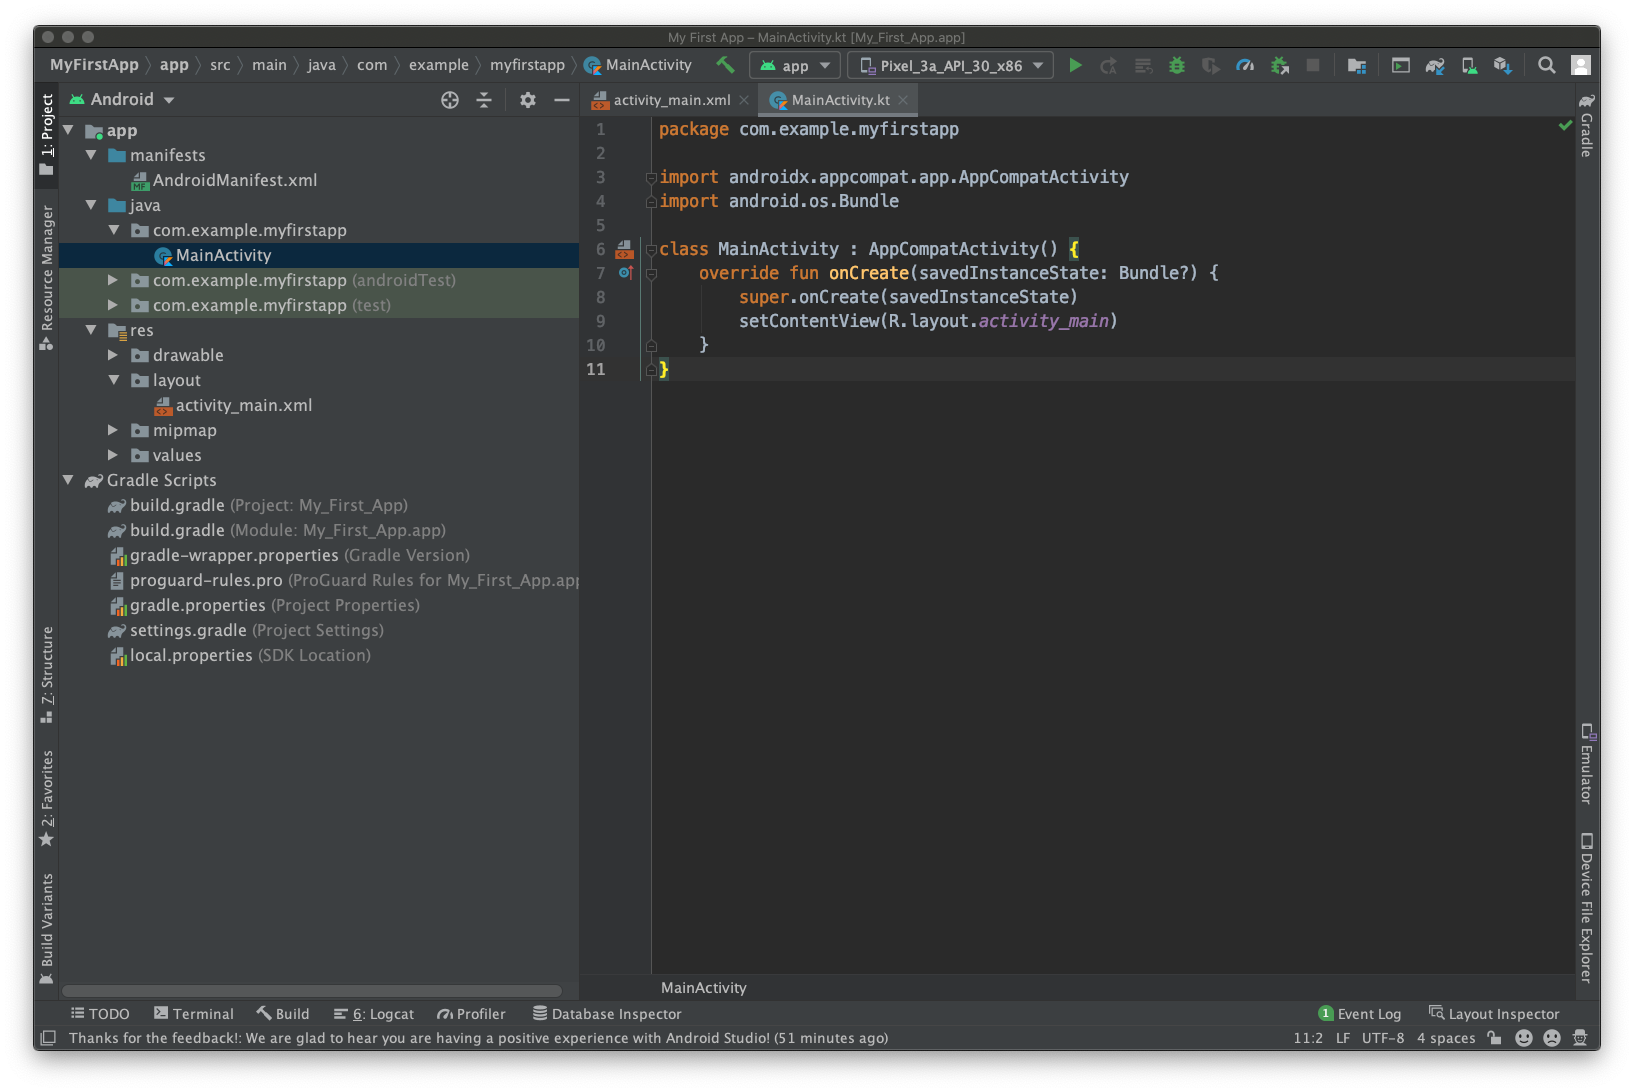
After some processing time, the Android Studio main window appears. Figure 2.
Android Studio main window.
Now take a moment to review the most important files.
First, be sure the Project window is open (select View > Tool Windows > Project) and the Android view is selected from the drop-down list at the top of that window. You can then see the following files:
• app > java > com.example.myfirstapp > MainActivity
This is the main activity. It’s the entry point for your app. When you build and run your app, the system launches an instance of this Activity and loads its layout.
• app > res > layout > activity_main.xml
This XML file defines the layout for the activity’s user interface (UI). It contains a TextView element with the text “Hello, World!”
• app > manifests > AndroidManifest.xml The manifest file describes the fundamental characteristics of the app and defines each of its components.
• Gradle Scripts > build.gradle
There are two files with this name: one for the project, “Project: My_First_App,” and one for the app module, “Module: My_First_App.app.” Each module has its own build.gradle file, but this project currently has just one module. Use each module’s build.gradle file to control how the Gradle plugin builds your app. For more information about this file, see Configure your build.
And there you have it, You have successfuly created an Android Project… flex’em 💪
The Help me choose link opens the Android Platform/API Version Distribution dialog. This dialog provides information about the various versions of Android that are distributed among devices. The key tradeoff to consider is the percentage of Android devices you want to support versus the amount of work to maintain your app on each of the different versions that those devices run on. For example, if you choose to make your app compatible with many different versions of Android, you increase the effort that's required to maintain compatibility between the oldest and newest versions.
